
ave you ever considered making your own shampoo bars? Not only is it a fun and rewarding craft, but it also allows you to tailor your shampoo to suit your hair type and preferences. Solid shampoo bars have gained popularity for their eco-friendliness, cost-effectiveness, and travel convenience. In this comprehensive guide, we'll walk you through the process of creating your own solid shampoo bars from scratch, perfect for beginners diving into the world of homemade hair care.
Understanding Solid Shampoo Bars
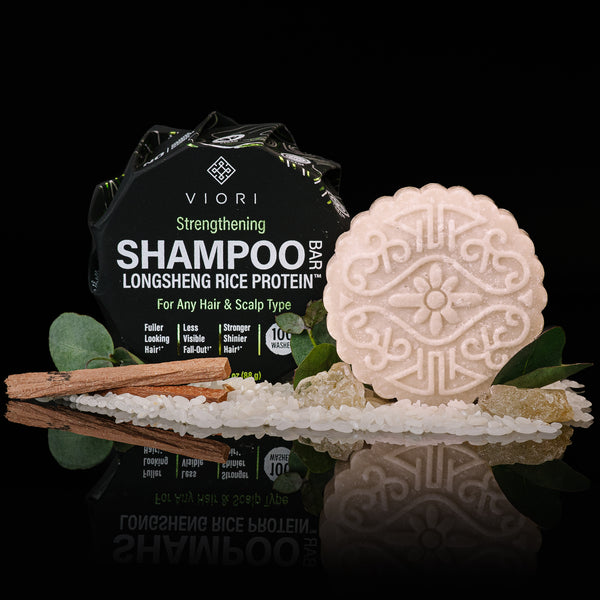
Solid shampoo bars are compact bars of concentrated shampoo that lather up when combined with water. They contain gentle cleansers, nourishing oils, and beneficial additives like essential oils or herbal extracts. These bars eliminate the need for plastic bottles, reducing environmental impact and offering a more sustainable alternative.
Gathering Your Ingredients and Tools
Before starting your DIY adventure, gather the necessary ingredients and tools:
Ingredients:
Surfactants: Sodium cocoyl isethionate (SCI), sodium lauryl sulfate (SLSA), or others.
Emollients: Coconut oil, shea butter, cocoa butter, etc.
Additives: Essential oils, herbs, clays for color, and extra nourishment.
Tools:
Mixing Equipment: Heat-resistant bowls, spoons, and a silicone mold.
Safety Gear: Gloves and goggles for handling ingredients like lye.
Heat Source: Stovetop or microwave for melting ingredients.
Step-by-Step Process
Step 1: Safety First
Gather Safety Gear: Wear gloves and goggles when handling lye to protect your skin and eyes.
Work in a Well-Ventilated Area: Ensure proper airflow to prevent inhaling fumes.
Step 2: Mixing Ingredients
Combine Surfactants and Emollients: Melt the solid surfactants and emollients in a heat-resistant bowl using a double boiler method.
Add Additives: Incorporate essential oils or other additives for fragrance or specific hair benefits.
Step 3: Molding the Bars
Pour the Mixture: Transfer the blended mixture into silicone molds, pressing down firmly to eliminate air bubbles.
Let Them Set: Allow the bars to cool and solidify for several hours or overnight.
Step 4: Unmolding and Curing
Remove from Molds: Carefully pop the solid shampoo bars out of the molds.
Curing Process: Allow them to cure for about 2-4 weeks in a cool, dry place to harden fully.
Tips for Success
Precision Matters: Follow the recipe and measurements precisely for the best results.
Experiment Safely: Don’t hesitate to experiment with different ingredients, but always research their properties and interactions.
Keep Records: Note down your recipes and any modifications for future batches.
Conclusion:
Crafting your own solid shampoo bars is an exciting journey into sustainable self-care. With the right ingredients, tools, and a sprinkle of creativity, you can create personalized hair care products that cater to your unique needs. Start small, experiment, and enjoy the process of making something beneficial for both your hair
Understanding Solid Shampoo Bars
Solid shampoo bars are compact bars of concentrated shampoo that lather up when combined with water. They contain gentle cleansers, nourishing oils, and beneficial additives like essential oils or herbal extracts. These bars eliminate the need for plastic bottles, reducing environmental impact and offering a more sustainable alternative.
Gathering Your Ingredients and Tools
Before starting your DIY adventure, gather the necessary ingredients and tools:
Ingredients:
Surfactants: Sodium cocoyl isethionate (SCI), sodium lauryl sulfate (SLSA), or others.
Emollients: Coconut oil, shea butter, cocoa butter, etc.
Additives: Essential oils, herbs, clays for color, and extra nourishment.
Tools:
Mixing Equipment: Heat-resistant bowls, spoons, and a silicone mold.
Safety Gear: Gloves and goggles for handling ingredients like lye.
Heat Source: Stovetop or microwave for melting ingredients.
Step-by-Step Process
Step 1: Safety First
Gather Safety Gear: Wear gloves and goggles when handling lye to protect your skin and eyes.
Work in a Well-Ventilated Area: Ensure proper airflow to prevent inhaling fumes.
Step 2: Mixing Ingredients
Combine Surfactants and Emollients: Melt the solid surfactants and emollients in a heat-resistant bowl using a double boiler method.
Add Additives: Incorporate essential oils or other additives for fragrance or specific hair benefits.
Step 3: Molding the Bars
Pour the Mixture: Transfer the blended mixture into silicone molds, pressing down firmly to eliminate air bubbles.
Let Them Set: Allow the bars to cool and solidify for several hours or overnight.
Step 4: Unmolding and Curing
Remove from Molds: Carefully pop the solid shampoo bars out of the molds.
Curing Process: Allow them to cure for about 2-4 weeks in a cool, dry place to harden fully.
Tips for Success
Precision Matters: Follow the recipe and measurements precisely for the best results.
Experiment Safely: Don’t hesitate to experiment with different ingredients, but always research their properties and interactions.
Keep Records: Note down your recipes and any modifications for future batches.
Conclusion:
Crafting your own solid shampoo bars is an exciting journey into sustainable self-care. With the right ingredients, tools, and a sprinkle of creativity, you can create personalized hair care products that cater to your unique needs. Start small, experiment, and enjoy the process of making something beneficial for both your hair
NOT SURE WHICH PRODUCT IS RIGHT FOR YOU?
TAKE THE QUIZTakes 30 seconds · 134,000+ customers matched
WHAT CUSTOMERS ARE SAYING
Real reviews for Hidden Waterfall Barra de Champú


