Have you ever scrolled through social media and thought, “I could totally make my own shampoo bar at home”? The idea of crafting zero-waste, natural hair bars in your kitchen is tempting. But as someone who has spent two decades in the beauty industry, I can assure you: there’s a lot going on beneath the surface that most blogs and TikToks never mention.
NOT SURE WHICH PRODUCT IS RIGHT FOR YOU?
TAKE THE QUIZTakes 30 seconds · 134,000+ customers matched
Let’s take an honest, science-backed look at DIY shampoo and conditioner bars - from the chemistry to those tricky pitfalls. Whether you’re a beauty enthusiast or simply hair-curious, here’s the real scoop on what it takes to make a bar that’s actually good for your hair.
The Chemistry Behind the Bar: Not All Solids Are Shampoo
Most popular DIY “shampoo” bar recipes floating around the internet are really just soap in disguise. They might smell amazing and include trendy botanicals, but chemically, they don’t play nice with your hair.
- Soap bars are alkaline (pH 9-10): Healthy hair thrives in a mildly acidic environment (pH 4-6). Using soap regularly on your hair can cause dryness, lead to tangles, and even cause your color to fade faster.
- Real shampoo bars use syndet surfactants: These are specialized “synthetic detergents” like Sodium Cocoyl Isethionate that clean effectively while protecting your hair’s natural barrier. They keep the pH right where your hair likes it.
- The catch: Sourcing and working with these professional ingredients isn’t as simple as a trip to the grocery store-they often require special equipment or suppliers.
Conditioner Bars: The Real Secret is in the Chemistry
Many home recipes call for a blend of shea butter, coconut oil, or other natural oils and simply call it a “conditioner.” But professional bars rely on ingredients you won’t find in your pantry.
- Cationic conditioners like Behentrimonium Methosulfate (BTMS) actually bond to your hair, smoothing and detangling. Oils and butters alone can weigh hair down or create unwanted buildup-especially if your hair is fine or lives in a hard water area.
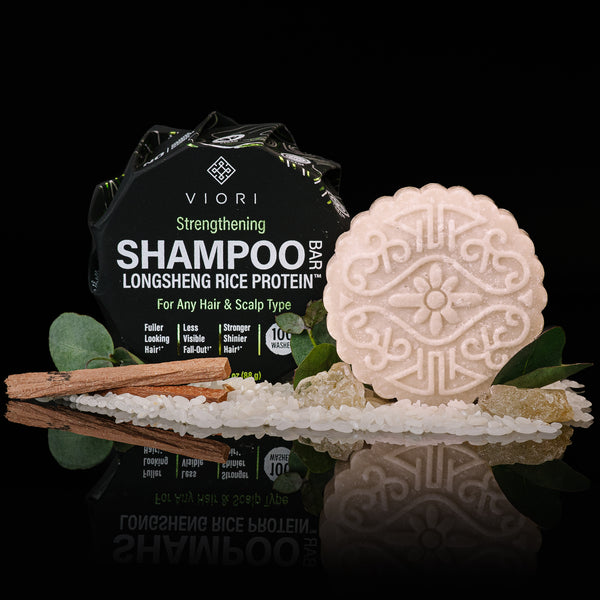
- Proteins and humectants-like hydrolyzed rice protein or panthenol-are hard to handle correctly at home, and without them, you miss out on benefits like true strengthening, moisture retention, and shine.
Why pH Balance Matters (And Is the Most Overlooked DIY Step)
If you’re skipping pH checks when making your own bars, you’re rolling the dice for your hair and scalp health. Professional bars are carefully formulated to stay in the sweet spot - keeping your cuticle smooth, your scalp happy, and your color from fading.
- Too alkaline? Say hello to frizz, roughness, and dryness.
- Too acidic? You might get irritation or further scalp problems.
And those vinegar rinses commonly recommended as a “fix” after soap-based washes? While they help temporarily, they don’t address the real issue in the long run.
Safety and Shelf Life: More Than Meets the Eye
A common DIY myth is that solid bars are automatically self-preserving. In reality, bars made with ingredients such as honey, aloe, or glycerin can be breeding grounds for microbes if not dried properly or used up quickly. Commercial bars are formulated with safety and shelf life in mind.
- Make sure your homemade bars dry thoroughly after every use.
- Only make small batches so you can use them up within a reasonable time-especially in humid climates.
Hard Water: The Sneaky Enemy of DIY Bars
Here’s a hidden headache that's rarely mentioned: hard water. Many homemade soap-based bars react with minerals in hard water, leaving a dull, waxy film on your hair (known as "soap scum"). Effective commercial bars often include chelators-special ingredients to prevent this. Without them, you may find yourself battling dullness and buildup no matter how much you rinse.
Advanced DIY Tips for the Bold at Heart
If you’re ready to level up beyond Pinterest basics, consider these pro-approved tweaks:
WHAT CUSTOMERS ARE SAYING
Real reviews for Rice Water Shampoo Bar – All Hair Types | VIORI
- Add a little citric acid to help with hard water, but always check the final pH with pH strips to avoid irritation.
- Choose lightweight oils such as jojoba or rice bran for a non-greasy feel, instead of heavy coconut oil.
- If you’re ready for a real challenge, source BTMS or cationic guar, and experiment with small amounts of hydrolyzed protein for that next-level conditioning effect.
- Always do a patch test if you’re using new essential oils, nut butters, or soy-based conditioners, especially if you tend toward skin sensitivities.
DIY vs. Professional: Weighing the Real Pros and Cons
-
DIY Pros:
- Total control over your ingredients
- Zero waste-no plastic bottles!
- Fun and educational for beauty lovers
-
DIY Cons:
- Hard to achieve the right pH and professional haircare benefits
- Soap-based bars can lead to long-term dryness, buildup, or dullness
- Shelf life, stability, and scalp safety can be tricky without advanced knowledge
-
Professional Bars (like Viori):
- Carefully formulated for your hair’s health and pH balance
- Infused with specialty ingredients like fermented Longsheng rice water, proteins, and lightweight oils
- Sustainably packaged and designed to deliver consistent results-even for colored, curly, or sensitive hair
Final Thoughts: Choose What’s Right for Your Hair Journey
Making your own shampoo and conditioner bars can be empowering and eco-friendly when you understand the science behind it. But if you want consistently healthy, shiny hair-especially if you color, bleach, or live in a hard water area-professionally formulated bars are a safer bet.
Curious about experimenting with your own advanced formulas? Have questions about ingredient sourcing or pH testing? Drop your thoughts and questions below-I love helping fellow beauty enthusiasts discover the ideal path for their unique hair!
Your hair tells your story-let it shine, sustainably and beautifully, with the care it deserves.


